SafeEntry Tips and Tricks - How to Create Shortcuts and Use the SingPass App Like a Pro in Singapore
With the start of Phase 2 of Singapore's reopening, more people have been going out for meals and other leisure activities. Yesterday, the Singapore Tourism Board (STB) announced that some tourism-linked businesses like the Singapore Zoo, Universal Studios Singapore, and casinos (just to name a few) will be able to reopen from 01 July 2020. If you do not have a SingPass app, you are definitely missing out in terms of convenience and hopefully, this article can help you become more efficient at complying with SafeEntry measures.

Photo Credit: Government of Singapore
This is not a sponsored article and I am not commissioned by anyone to write it but I do hope that it helps some of you out there (and hopefully it stops people from crowding around a single QR Code which kind of defeats the purpose of social distancing).
1. Siri Shortcuts (iOS Users Only) - Check-In/Out with a Single Button
If you are an iOS user, you will be able to create Siri Voice Commands via the SingPass app. While this gives you the option to easily pull up a list of locations to check-in to using a 'Hey Siri' command, it also allows you to create buttons on the home screen or the lock screen so you can easily check-in to and check-out of places with a single push of the button.


What you essentially want to do is to create a Siri Voice Command for each action via SingPass so depending on what your preferred way of doing the SafeEntry is, you might end up with two or three different commands (don’t worry, I will go into this later) that will do the following:
Scan SafeEntry - opens up the camera in the SingPass app for you to scan a QR Code
SafeEntry Check-in - pulls up a list of locations nearby for you to select and check-in
SafeEntry Check-out - immediately checks you out from the last check-in location
Once you have successfully created these Siri Voice Commands, you will then be able to either add them into your lock screen via Shortcuts (see image on the top left) or add them on your home screen as buttons (see image on the top right).
How to Set-up Siri Voice Commands on SingPass for SafeEntry (iOS Only)
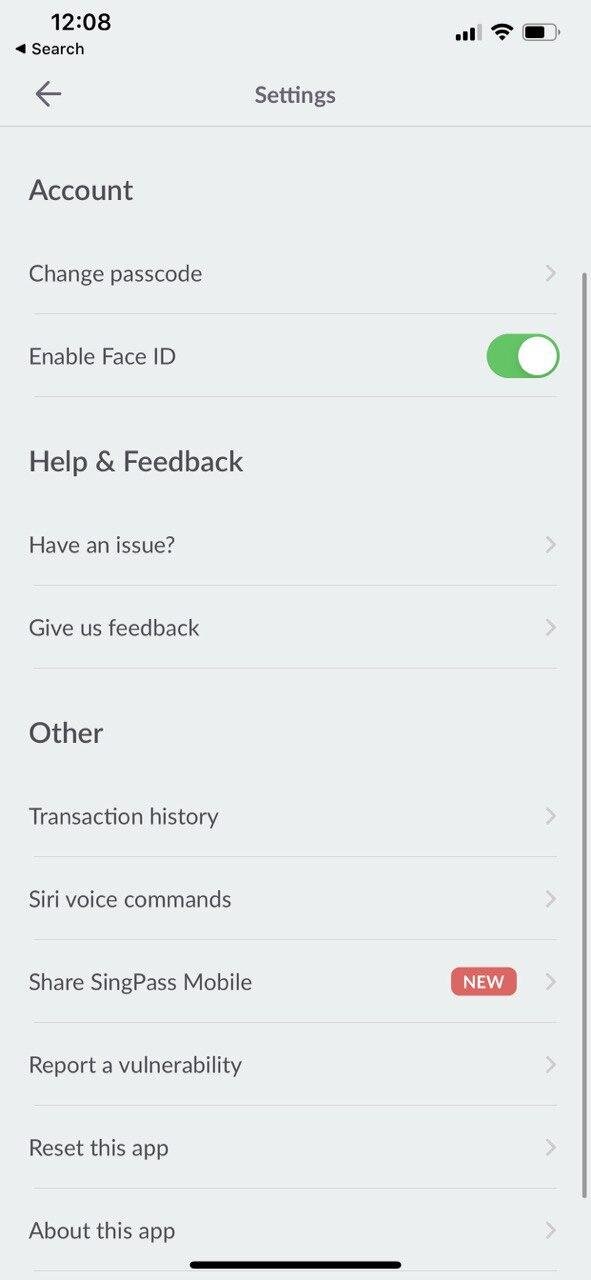
Once you open up your SingPass app, click on the top right corner of the app (setting cog icon) before selecting ‘Siri Voice Commands’ on the next page. Once you have done so, you will be able to assign a voice command for each action that is shown on this page (you will also be able to pull up the NS Portal or CPF E-Services easily but I really don’t see the point in it) but focus on the General and SafeEntry commands for now.
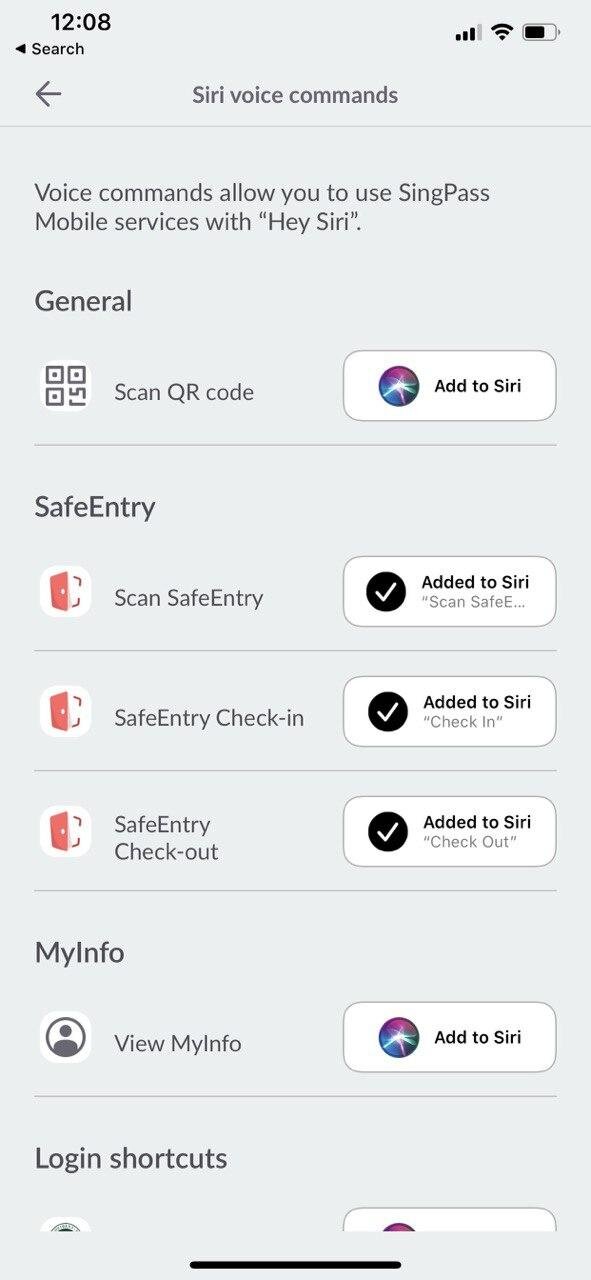
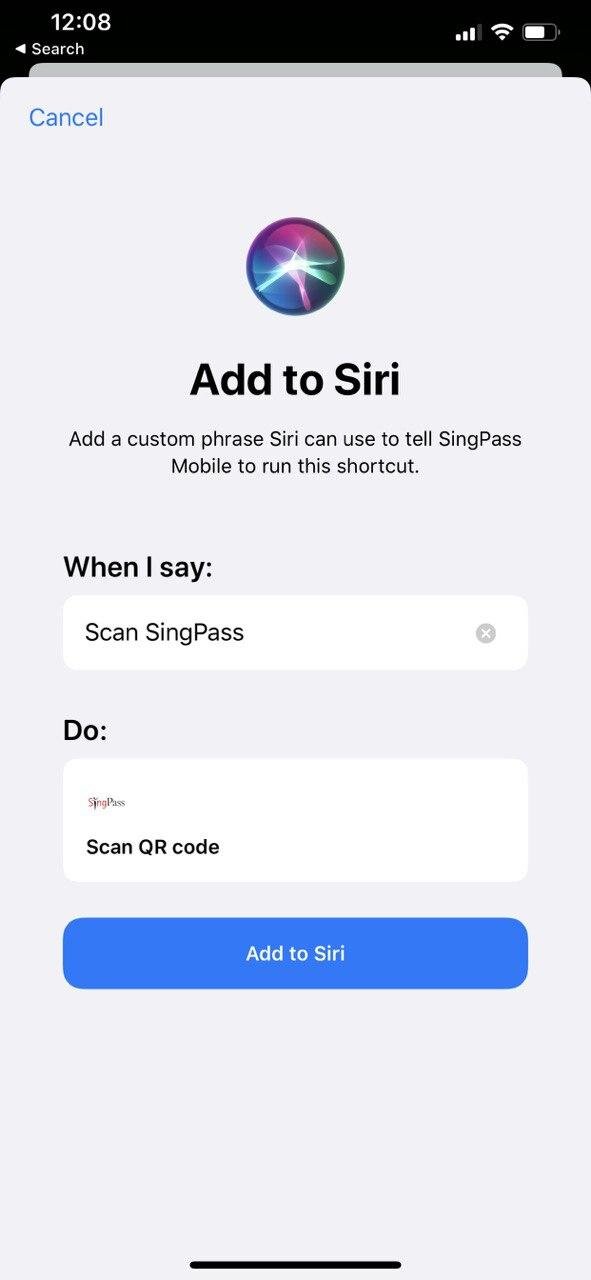
Let’s set-up the Scan SafeEntry feature now - this will allow you to bring up the Scan feature within the SingPass app easily (great when you are standing at the entrance of the location and have the SafeEntry QR Code within reach). Once you push the ‘Add to Siri’ button, you will be able to change the ‘When I say:’ portion - feel free to change this to something that is easier to say since you will probably have to say this while wearing a face mask. If you do not care about voice commands and simply want to create buttons on your home screen and lock screen, just tap on the blue ‘Add to Siri’ button below.
Repeat the steps above for all the features that you would like to use - I would personally recommend setting up all three features under the SafeEntry portion just to make your life a little bit easier:
Scan SafeEntry
SafeEntry Check-in
SafeEntry Check-out
Adding SafeEntry Shortcuts to Home Screen

Once that is done, you can easily find these shortcuts in the Shortcuts app (you will be able to download it from the App Store if you do not have already have it). From this app, you will be able to create shortcuts on the home screen. You will also be able to customise the icon, colour, and name of these shortcuts if it pleases you but by simply adding them to the home screen, you will not have to bother with finding the SingPass app on your phone before waiting for the check-in feature to load on the app (which is sometimes glitchy especially when you are connected to a public wireless network before authentication).
Adding SafeEntry Shortcuts to Lock Screen

If you like, you can also add these SafeEntry shortcuts to the lock screen so you can access them easily (you will have to unlock your phone for security purposes however once you push these buttons). I personally like having the check-out button there as that makes it a whole lot easier for me to move between places (e.g. shops within shopping malls or restaurants within a hotel).
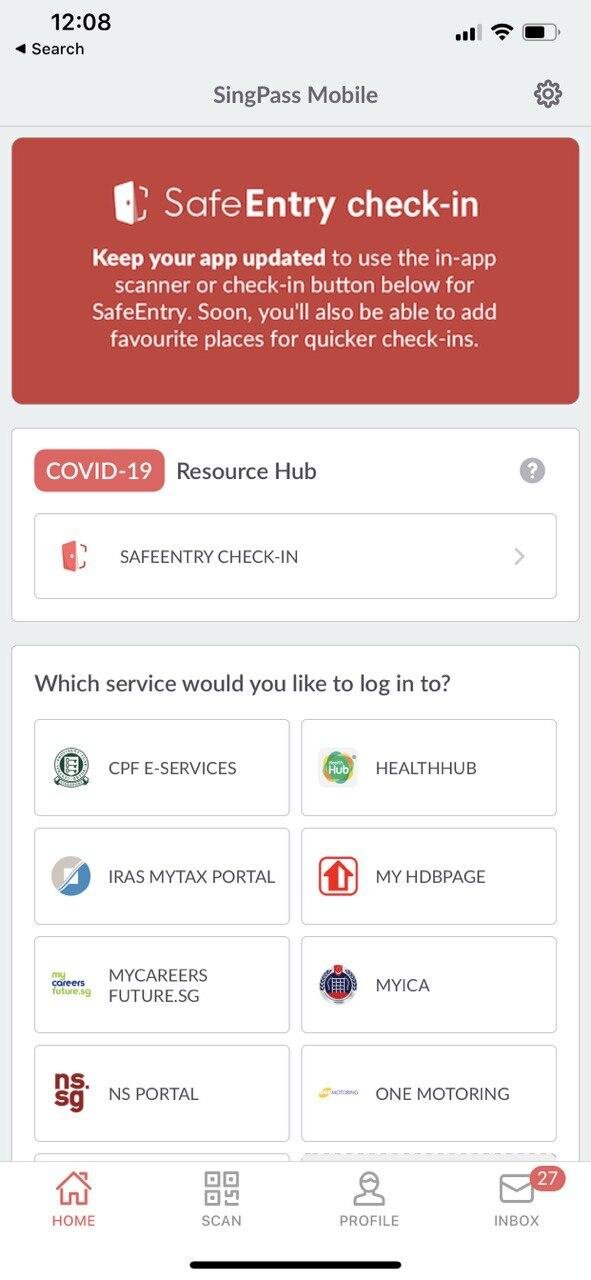
2. Save Your SafeEntry Favourite Locations - Find Them Easily!
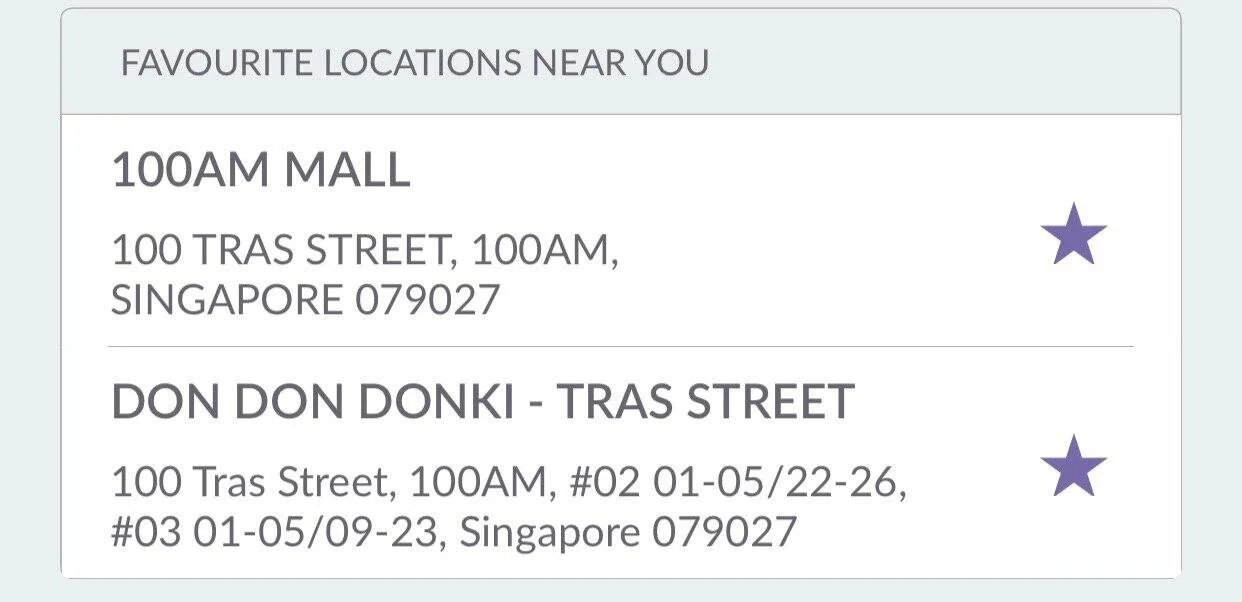
Regardless of whether you are using your new SafeEntry Check-in shortcut or doing it the long way via the SingPass app, you will have to pick from a list of locations nearby. I personally like this feature a lot since it allows you to get ready to check-in without having to scan the actual QR Code (where people generally crowd around). However, if you are visiting a city location, you may have difficulties finding the actual location (especially if you are visiting a less popular spot). Not everyone may notice this but there is an option to 'Star' a favourite location so it shows up on top of the page for you - this allows you to automatically filter through all the popular locations near you and it is great if you tend to visit these places on a regular basis.
3. Access Digital NRIC (for Scanning) via SingPass
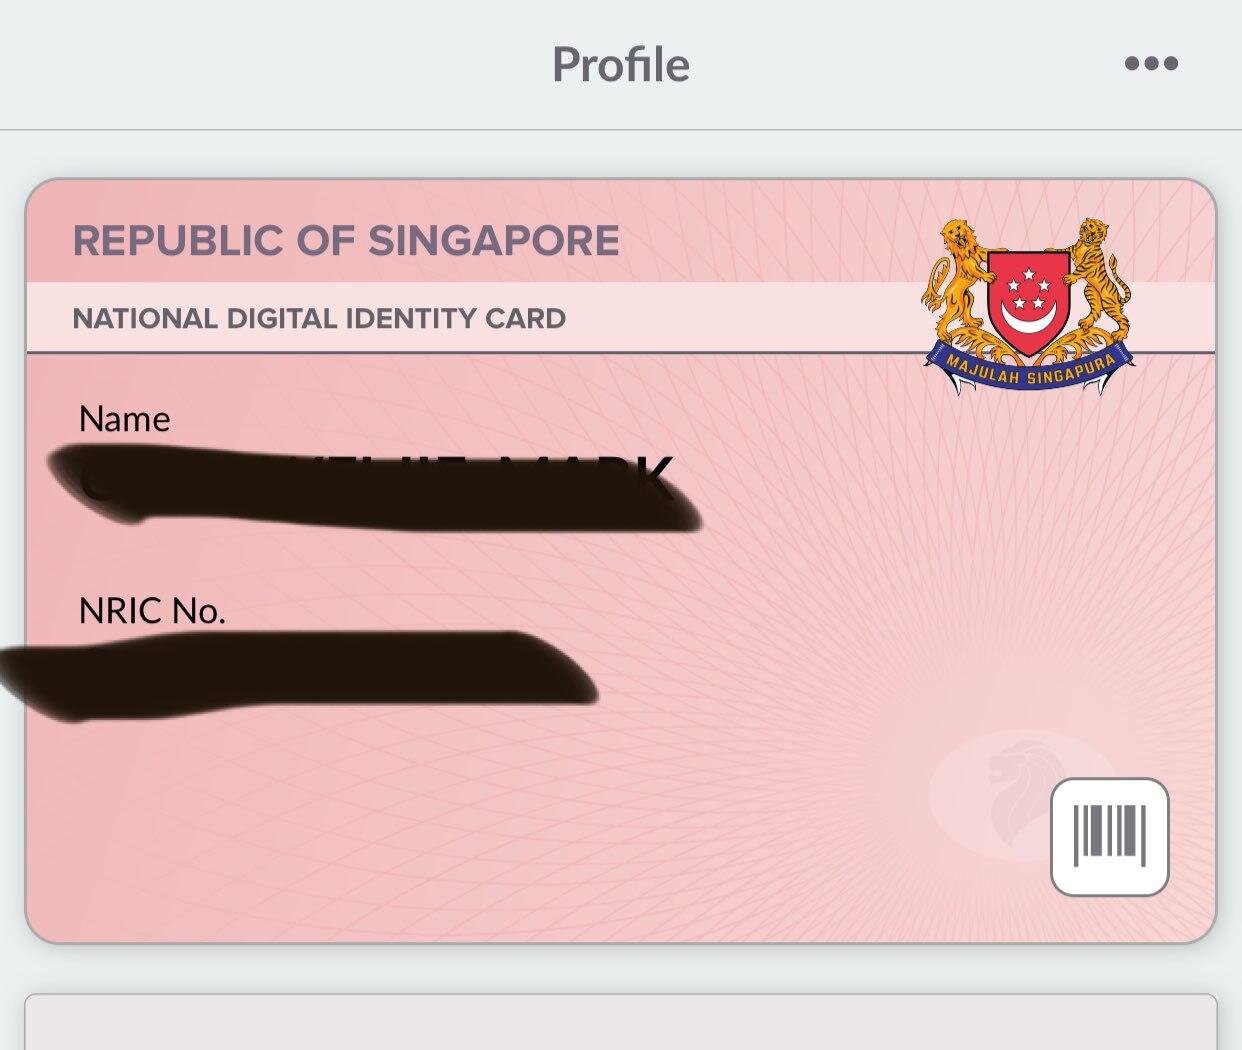
If you have been following me on Instagram, you might notice that I have been going on a number of runs lately. After one of my runs last week, I decided to drop by Marina Bay Sands for a drink but was informed that my NRIC was required for entrance (simply scanning the SafeEntry QR Code was not sufficient). Since I did not have my wallet (and thus, my NRIC) on me, I had initially thought that I would not have been able to access the shopping mall but I realised that I could access a digital NRIC via the SingPass app - simply tap on the Profile icon on the bottom of the app to bring up your digital NRIC and the barcode.
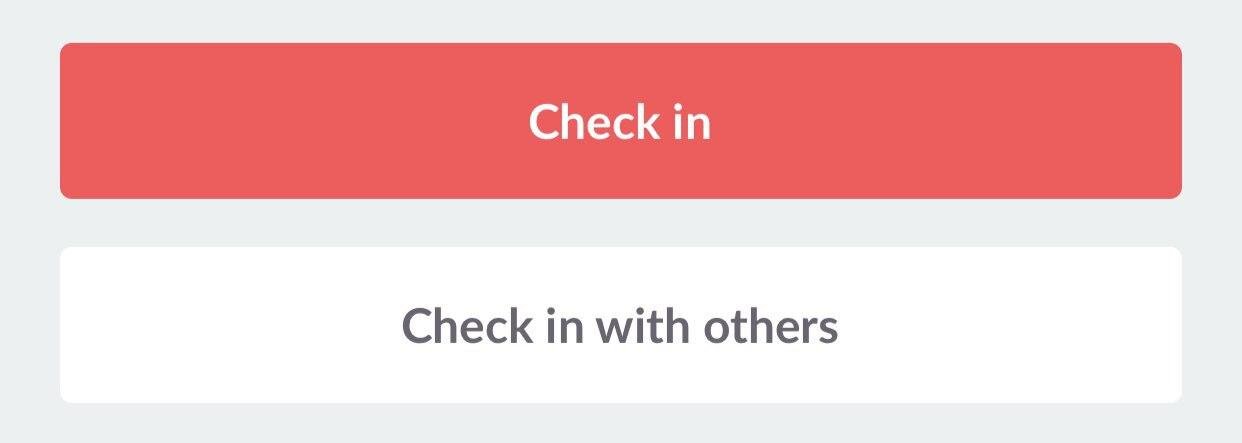
4. Group SafeEntry Check-in (Up to 5 People Including Yourself)
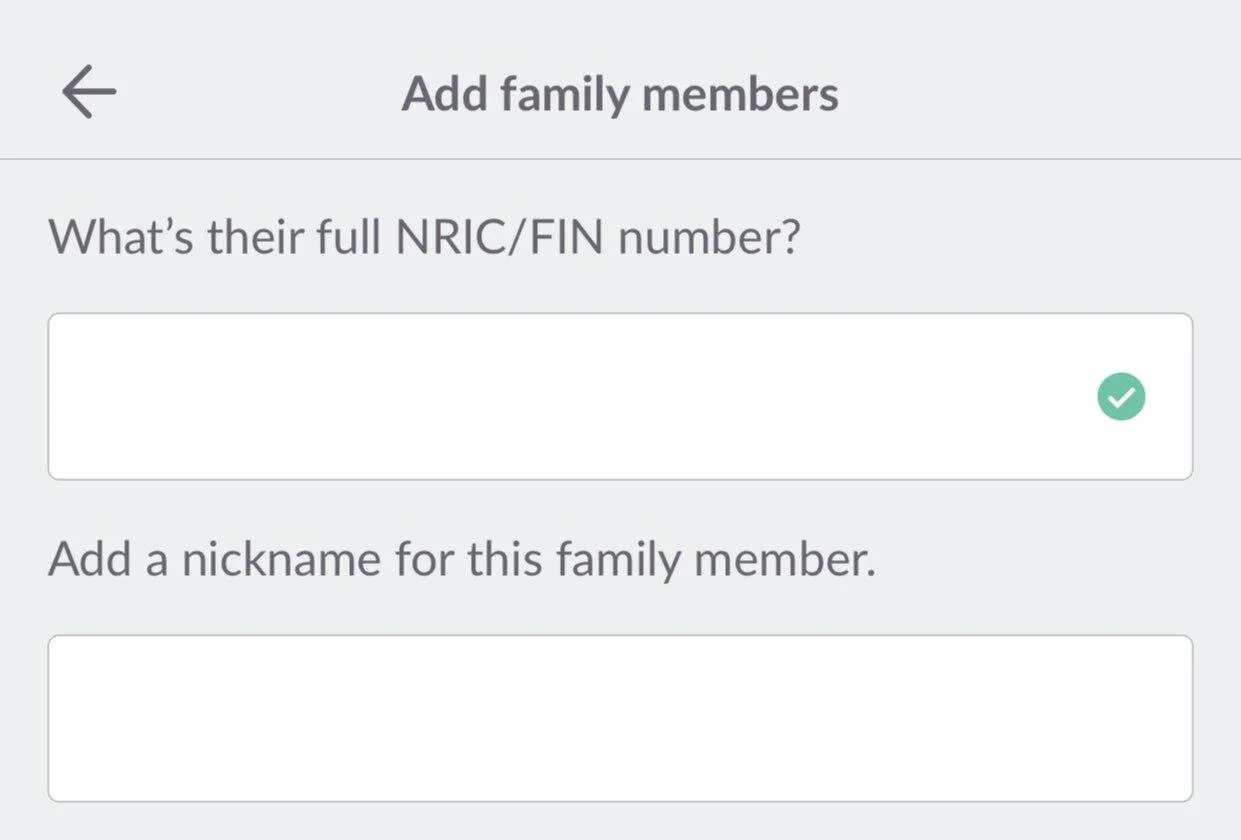
The latest version of SingPass will allow you to perform a group SafeEntry check-in (up to 5 people, including yourself). Regardless of whether you are doing it the usual way or via the shortcut method outlined at the start of the article, you will notice that you now have a “Check in with others” option at the bottom of the screen after you select the location. Once you click that, you will be able to ‘Add another person’ and perform a group SafeEntry check-in (so only one person per group needs to do this). This is a great feature (especially if your family members are not that tech-savvy) as it could potentially alleviate the bottleneck situation outside points of entry and exit.
After entering the NRIC of the other person, you will be able to assign a nickname (for security purposes) to this person - this individual will then be saved inside your SingPass app and you will be able to easily check the person in and out with you moving forward.
5. Scan Feature on SingPass
Finally, a lot of people struggle with scanning the QR Code in front of mall/shop entrances and exits. Seriously, this is jeopardising the safety distancing measures that have been put in place - if you truly need to scan the QR Code (e.g. you can't find the registered location via the SafeEntry Check-in feature), make sure you are ready with your app and do remember to step aside immediately once you have managed to scan the QR code (you do not need to stand in front of the QR code, seriously). As I have mentioned earlier before, you may choose to set up the Scan SafeEntry feature as a shortcut and this allows you to bring up the camera within the SingPass app for you to check-in and quickly if required. Once you have the SafeEntry Check-out shortcut set-up properly, you won't even need to scan another QR Code again to check-out of a location.


Looking for the best eSIM for tourists on your next visit to Thailand? The dtac Happy Tourist eSIM allows you to stay connected the moment you land at just USD 9.90 (or USD 6.90 if you are new to Airalo) and it will also unlock free workout classes if you sign-up for a Classpass trial.